In today's digital world, ensuring the authenticity and integrity of documents is crucial. Thankfully, Microsoft Word offers a built-in feature for adding digital signatures, allowing you to electronically sign off on your documents for added security and peace of mind. Here's a comprehensive guide to help you navigate this process:
Understanding Digital Signatures:
A digital signature acts like a virtual fingerprint attached to your document. It verifies your identity as the signer and confirms that the document hasn't been altered since it was signed. This can be particularly important for agreements, contracts, or other sensitive documents.
Steps to Add a Digital Signature in Word:
- Open your Word document: Ensure you have the document you want to sign readily available.
- Navigate to the "Insert" tab: Locate the "Insert" tab on the Word ribbon at the top of your screen.
- Click "Signature Line": Within the "Insert" tab, find the "Text" group and click the "Signature Line" button. Choose your signing option: A "Signature Setup" window will appear. You have two options here: Microsoft Office Signature Line: This creates a basic signature line with your typed name and title (if entered). Select Signature line image: This allows you to insert an image of your handwritten signature. You can create this image by scanning your signature or taking a clear picture.
- Fill in the information (Optional): If you choose the Microsoft Office Signature Line, enter your desired typed name and title in the respective fields.
- Assign a signer (Optional): In the "Suggested signer" field, you can type the name of the person who will be signing the document. This is useful if you're circulating the document for someone else to sign.
- Click "OK" Once you've completed the information, click "OK" to insert the signature line into your document.
- Position the signature line: The signature line will appear as a placeholder. Click and drag it to the desired location in your document, typically at the end.
- Sign the document (continued):
There are two ways to sign the document depending on the option you chose in step 4:
For Typed Signature Line:
Click on the signature line you inserted.
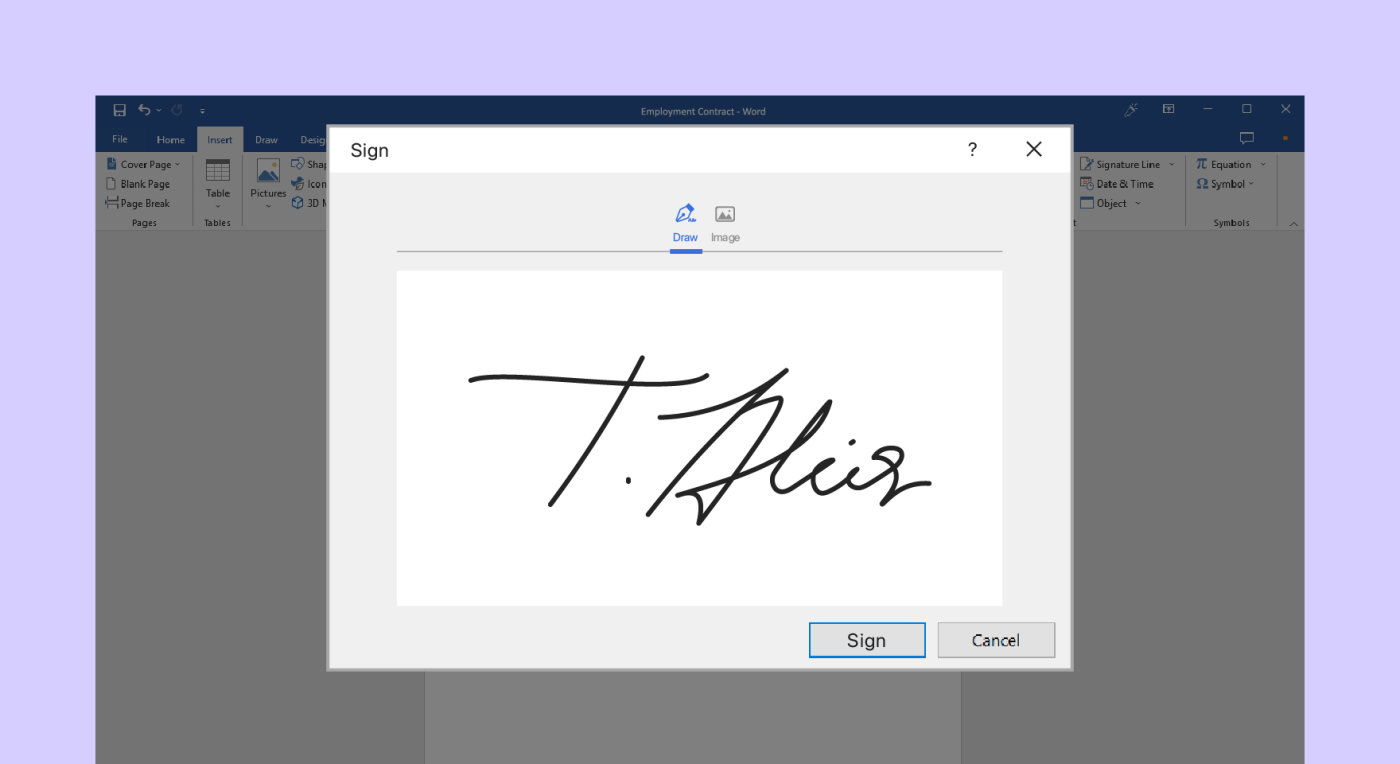
A "Sign" window will appear. You can choose to:
- Type your name: Simply type your name in the "Type Here" field. This will act as your electronic signature.
- Add a certificate (Optional): For a more secure signature, you can use a digital certificate issued by a trusted authority. However, this is typically not required for basic use.
For Handwritten Signature Line:
- Print your document.
- Sign the document on the printed signature line with your usual pen.
- Scan the signed document back into a digital format.
Complete the signing process:
- Click "Sign" After typing your name or adding a certificate (for typed signature), or after scanning your signed document (for handwritten signature), click the "Sign" button.
Verifying the Signature (Optional):
- Right-click on the signature line.
- Select "Signature Details". This will display information about the signer and the certificate used (if applicable).
Congratulations! You've successfully added a digital signature to your Word document!
Additional Tips:
- Save as PDF: Consider saving your document as a PDF after adding the signature. PDFs generally preserve the signature information more effectively.
- Security Certificates: While not always necessary, using a digital certificate issued by a trusted authority can provide a higher level of security for your signature.
By incorporating digital signatures into your workflow, you can add an extra layer of security and authenticity to your important documents in Microsoft Word.

